


.png)


How to set up a video wall? Complete tutorial
Published:2023-12-15Views:5798

There are 3 steps to set up a video wall: Step 1: Decide how many monitors are needed on the video wall, Step 2: Purchase a video wall controller, Step 3: Install and debug
What is a video wall?
Video wall refers to the interface of multiple video boxes displayed on the computer desktop when a computer remotely communicates with multiple computers through a camera. It is also a software function of a computer or mobile device. Video walls can be divided into two types: splicing screens and non-splicing screens.
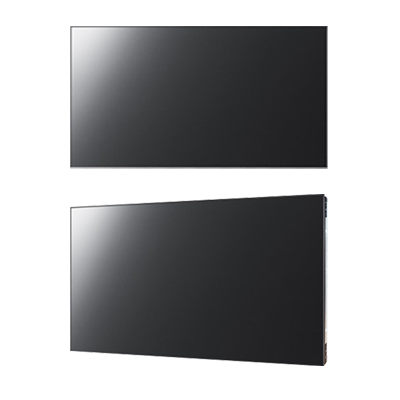
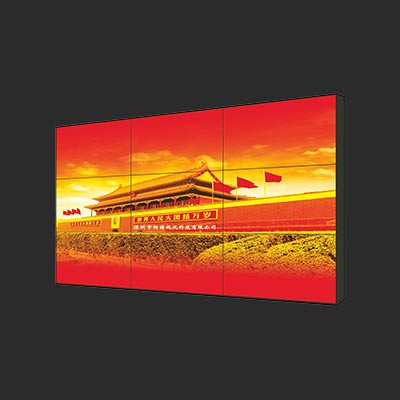
The splicing screen is a complete LCD splicing display unit that can be used as a monitor alone or can be spliced into a large screen with LCD splicing.
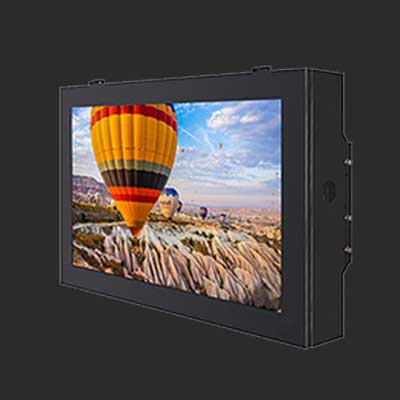
Non-splicing screens refer to separate displays installed on the video wall. A video wall is a custom multi-screen setup that combines or tiles multiple smaller LCD screens or monitors together, similar to a large screen. The setup also requires a video wall processor to control what is displayed and how it is displayed.
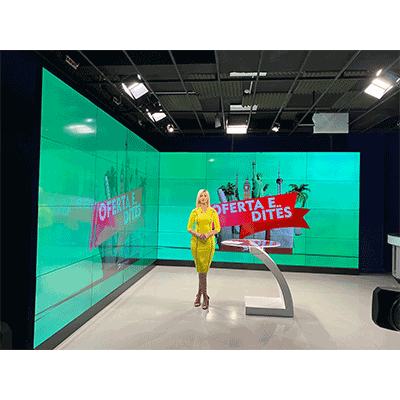
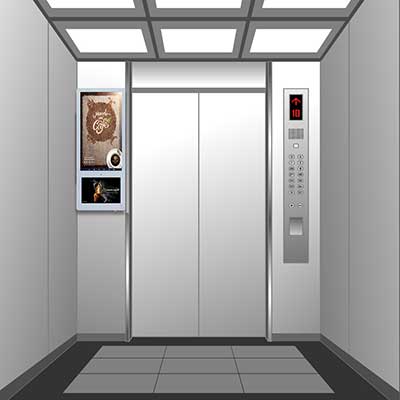
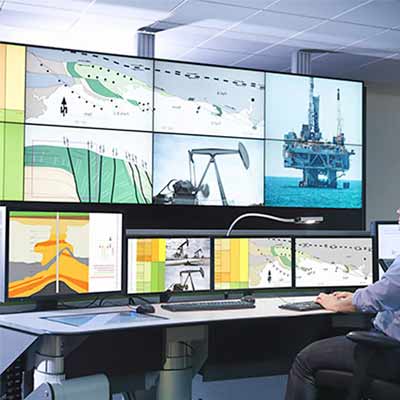
Video walls are mainly used in scenarios such as video conferencing, allowing users to control a display wall application system composed of multiple monitors or large plasma screens, and display the content to be displayed across screens.

What is a video wall used for?
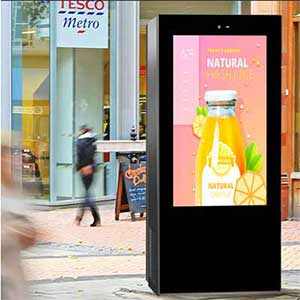
Video walls with large walls or large images are widely used in several applications around the world. Even this industry is growing very fast due to its unique services to inform large audiences or provide information for centralized supervision and control.
For a wider audience, AV projects are very demanding and their applications are quite specific, requiring special solutions regarding visualization. Projects such as showrooms, conference rooms, public displays, university auditoriums, lecture halls, conference centers, traffic control centers, police supervision centers, utility supervision rooms, security supervision rooms, industrial control and supervision centers and even mission critical control rooms require more Information and a single monitor screen are not enough.
In these projects, the solution means applying video walls, where many visitors or operators can view multiple monitors over a large area, displaying all the required amount of information. They need information for supervision, control, cooperation between operators, or simple entertainment.

How to set up a video wall?
Setting up a video wall can be quite a tricky task, so we wanted to give you some tips and tricks to look out for. When deciding on a video wall installation project, you must make some decisions ahead of time.
Step 1: Decide how many monitors you need on your video wall
The design must identify application requirements and specific project requirements. As a first step, the integrator must examine what type of information must be displayed and what size video wall is required. The number of visitors or audience size must be served by a large space, which may also limit the size of the video wall and control system.
Depending on your area and needs, you'll need to decide on the size of your future video wall. How big is your area? What kind of content will be displayed here? Do you need more vertical or horizontal surfaces? These are important questions to keep in mind before deciding on the following points.
Situation: The number of rows and columns are equal
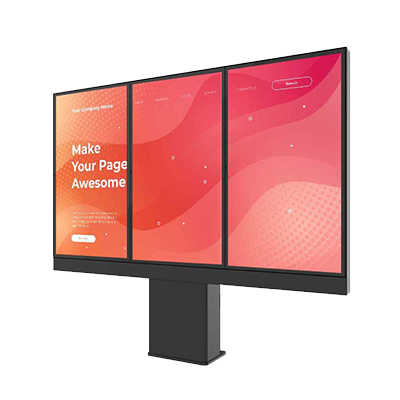
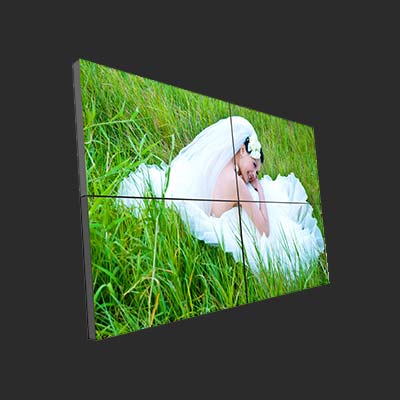
In this case, you can have a 2x2, 3x3, 4x4, 5x5 or any setup of a monitor screen with the same number of rows and columns. This type of installation feels similar to a television screen, so it is recommended to shoot cinematic footage while maintaining the original aspect ratio of the content.
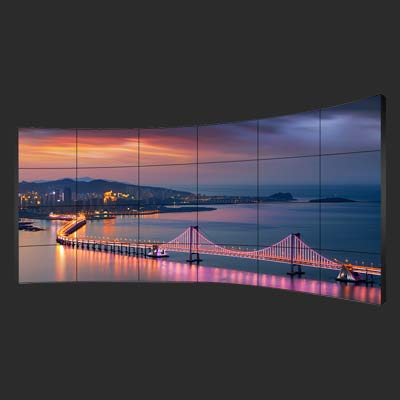
In this case, the monitor screen has a different number of columns and rows. This can be done vertically or horizontally, providing an attractive view over a sizable surface.
The implementation of a video wall must have a clear design beforehand, as these components will provide a visual experience that must lead to perfect customer satisfaction at the end of the project.
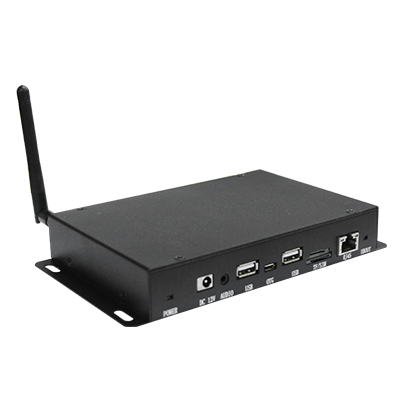
Step 2: Purchase a Video Wall Controller
There are many video wall controller manufacturers and integrators around the world that people can trust when purchasing a controller. But there are definitely some things to pay attention to in order to find the right solution. This is the next step in your journey.
Most importantly, you need to make sure the right controller is suitable for your project needs. Does it have all the features you are looking for? Can it handle the size of the video wall you have? The number of input and output ports is very important to meet your project requirements.
Another thing that can go wrong is choosing a video wall controller that is not customizable in terms of input and output signal types. Therefore, you need to request the appropriate board depending on whether you are using HDMI or other signals.
We've discussed resolution before in this article, but we need to raise awareness and now you can easily find the right controller to enable your application to achieve a 4K signal. Visual quality is essential in today's market, so don't fall behind if you want to put your best foot forward.
Video walls are typically built for long-term use – and when you consider the cost and effort involved in investing in a video wall, you’ll understand why. So here’s another tip – choose a controller that will serve your needs long term! Request reference materials, application examples and testimonials to ensure you get the best value for your investment.
The wall controller you choose must be the core element of your AV solution. Video wall controllers or commonly known as video processors must be chosen carefully. The right video processor can display perfect quality video signals in real-time, making it easy for users and customers to be satisfied.
Here's a small checklist to keep in mind:
The controller type must be determined as a network-based solution, a standalone PC-based solution, a monitor-integrated version or an integrated single-box solution.
- Does the controller have to display the Windows graphical desktop in the background?
- Does the processor display live video?
- What operator management tools must the processor provide?
- Distance between input source and processor
- Number, signal type and resolution of input signals?
- Distance between processor and output peripherals?
- Number, signal type and resolution of output signals?
- Does the processor have to control a single video wall or multiple video walls?
Step 3: Install and debug
Install a video processor that displays the direct input signal in real-time and in scaled form on a multi-screen video wall. Excellent services such as zoom, seamless switching, fade effects, OSD and even picture-in-picture services are built into the video processor device. Ensuring these video wall processors are suitable for any project size, products are available in sizes ranging from 4x4 to 144x72, with remote operators using a browser-based GUI for layout management

What types of video wall solutions exist?
There are various technologies that support video wall implementation like integrating TFT/LCD displays with plain or thin bezels, using DLP cubes that provide flawless 24/7 operation, or even using the latest LED wall panels. There are also implementations using single-beam or multi-beam projectors.
A video wall's screen arrangement can have a rectangular shape, or the screens can be placed in artistically appealing positions and mix portrait and landscape monitors.
How to choose the best solution for you?
Integrators must differentiate based on location whether the video must be displayed in the open air, in a small enclosed room or even in a large stadium. Size, technology, spacing size, response time and even brightness must be determined according to project specifications. The application area determines the type of management and operation during normal business hours or continuously 24/7.
How many monitors can you combine together?
Project requirements determine the number of monitors used. Common sizes are 2x2, 3x2, 3x3, 4x2 or even 5x5 arrangements, but the maximum number of screens depends only on the controller technology used.